|
[English]
[French]
<< Prev
[1]
Next >>
 |
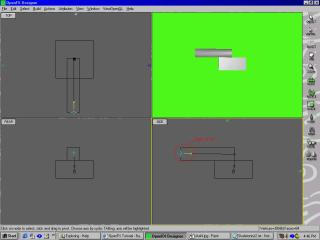
Step 1
We are starting off by making a simple structure to animate. We are going to
make a tank with a swinging turret. Make a box for the base and a cylinder
for the barrel. I have the start of the barrel directly above the centroid
of the box to make things easier.
|
 |
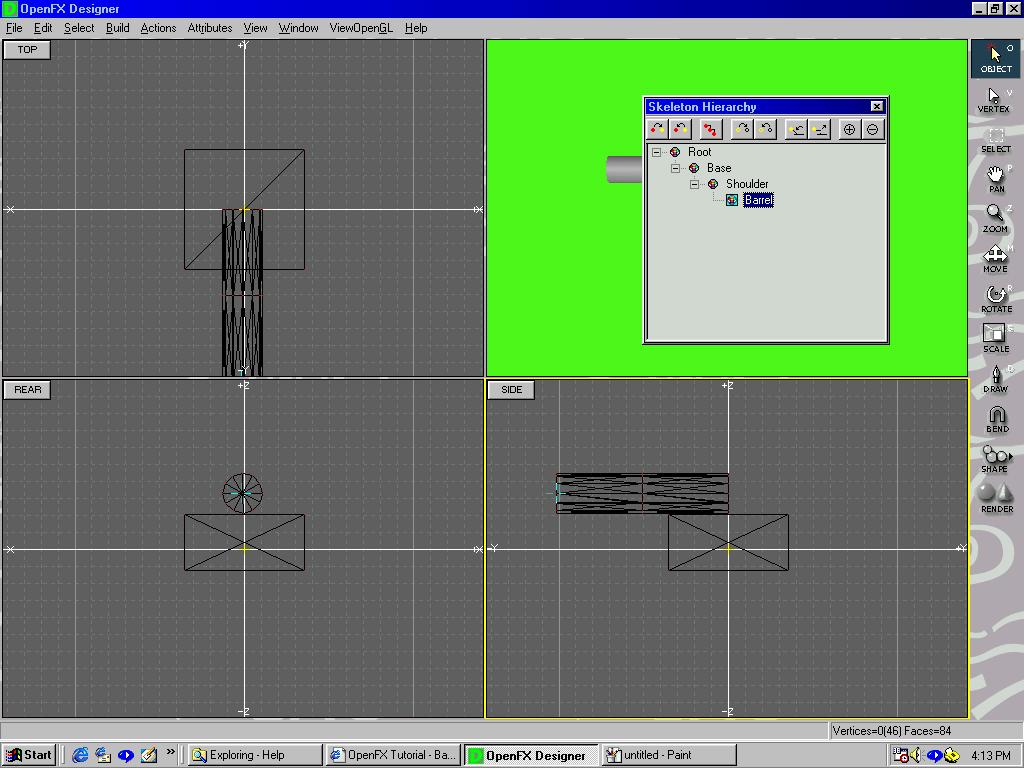
Step 2
Click any Selector tool. I find that the Hierarchy Joints menu is sometimes
unavailable if you are not using a Selector. Go into Edit > Hierarchy Joints.
In the Hierarchy Joints Menu hit the "+". Click on the 1 that appears in the menu.
Wait a second and it should go into rename mode. Type in "Base" then click anywhere
in the pop-up except for the button area. This joint will be used to rotate the
model relative to the model center. Since the barrel is going to be rotating
relative to the base, it needs to be in a subsection of the base. Click on the
joint Base if it isn't currently selected. To make things easier on yourself, you
might want to reposition the blue crosshair in the 2d views before making each joint.
Hit the "+". Rename the 2 to Shoulder. Make another joint off Shoulder and rename it
Barrel. The Shoulder is there so that there will be a joint at the start and end of
the limb (barrel). Renamed joints are an asset because they stop you from asking
yourself questions like: Was joint 5 a left arm or was it a right arm? If you
distribute your model, renamed joints are appreciated. Select the box on your model.
Click on "Base" in the Hierarchy Joints menu. One of the buttons in the pop-up
corresponds to attach. It is the sixth button from the left. Click it. The cube is
now known to OpenFX as "Base". Deselect the cube and select the cylinder. Click on
"barrel", then attach. Close the Hierarchy Joints menu.
|
 |
Step 3
Go into Edit > Skeleton > Reposition joints. You should see a a light blue
square and three circles appear with lines connecting them. If you didn't reposition
the crosshair before making joints, you have trouble spotting the circles. All of
them will be where you left the blue crosshair. Press Shift-A to locate any lost
circles, remembering that some circles may be stacked on one point. Move the square
so it is in the middle of the cube. Move the first circle so it above the square.
Move the next circle to the start of the bun barrel. Move the last circle to the other
end of the gun barrel. You have finished making the skeleton for your tank! This is a
very good point to save your work. You may never be able to get your model straight
again, so this save should be your base, unposed work. Save your model as something
else from here on in.
|
 |
Step 4
Go into Edit > Skeleton > Pose or hit Shift+A to go into Pose mode. Your tank
should appear as two boxes now with the skeleton visible in it. Click on the Square.
Dragging will rotate your entire model that you made around the square. Press Tab to
move the yellow axis indicator to a new axis and a new rotation plane. Click on the
first circle. This will rotate the base and everything below it on the hierarchy (like
the barrel). This is different from the square due to if you added an extra shape to
your model, the square would rotate it but the first circle wouldn't. You should note
at this time that the OpenGL Window that displays your model will not be updated into
the new position until you use the pan tool to move one of the other windows around.
(V1.0, possible bug) The final circle rotates the barrel and anything that would be
below it on the hierarchy (nothing on this model is below it). Press tab a few times
and you will see that the axis indicator has three positions on the previous circle and
one on the current circle. This fourth position is the spin axis. Note that
repositioning the joints will cause the rotation axes to move from their current vectors
to other, more confusing vectors.
|
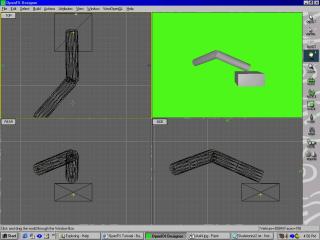 |
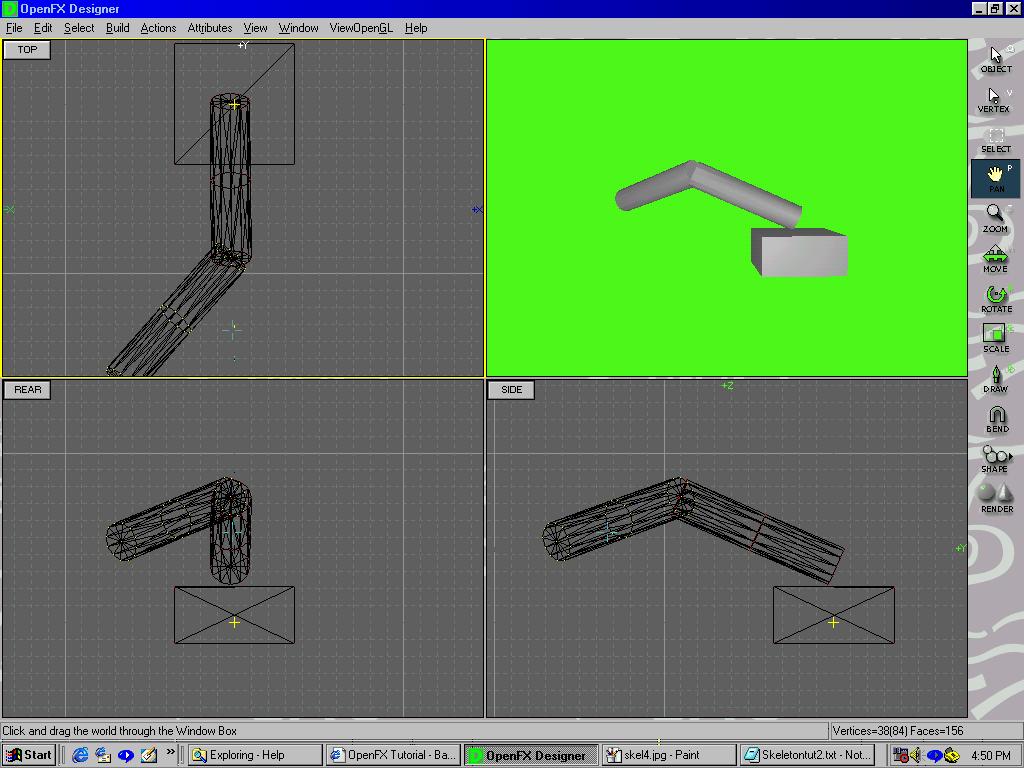
Step 5
If you were to add another cylinder to the end of the barrel, you could adapt the barrel
into an arm. Create another joint below barrel in the Joint Hierarchy and attach the new
cylinder to it (If you are smart you may want to move the blue crosshair to the end of
the new cylinder before making the new joint). Reposition the joint if necessary. This
will leave you with an arm with an elbow joint. Try making a second arm on the model as
your homework.
Have Fun making posable models.
Download model here.
|
Tutorial written by Keith Kelly
<< Prev
[1]
Next >>
|