|
[English]
[French]
<< Prev
[1]
[2]
Next >>
 |
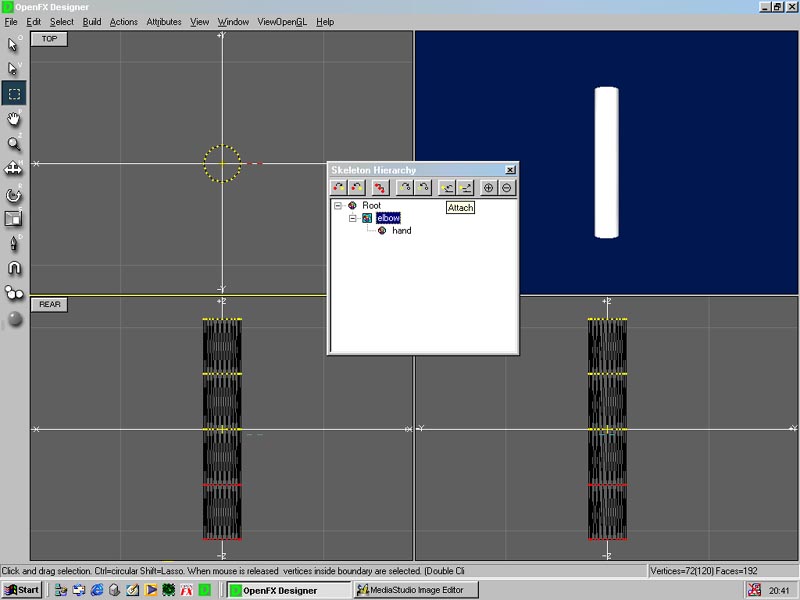
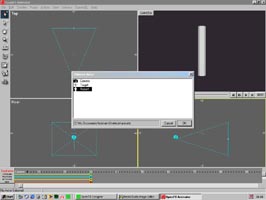
Step 6
With the joints made and in position we can attached the separate joints to the necessary
vertices. Close the build joints menu and open the Hierarchy Joints floating menu. Select
the elbow joint in the hierarchy window. In the rear window lasso the top three rows of
vertices (see opposite). Go back to the hierarchy menu and press attach. This will assign
the selected vertices to the elbow joint. You can now deselect these vertices by pressing
deselect.
|
 |
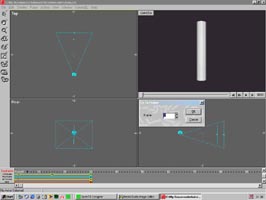
Step 7
Do the same for the hand joint but this time select the bottom two rows of vertices (see
image).
Save your newly make arm and go into animator.
|
 |
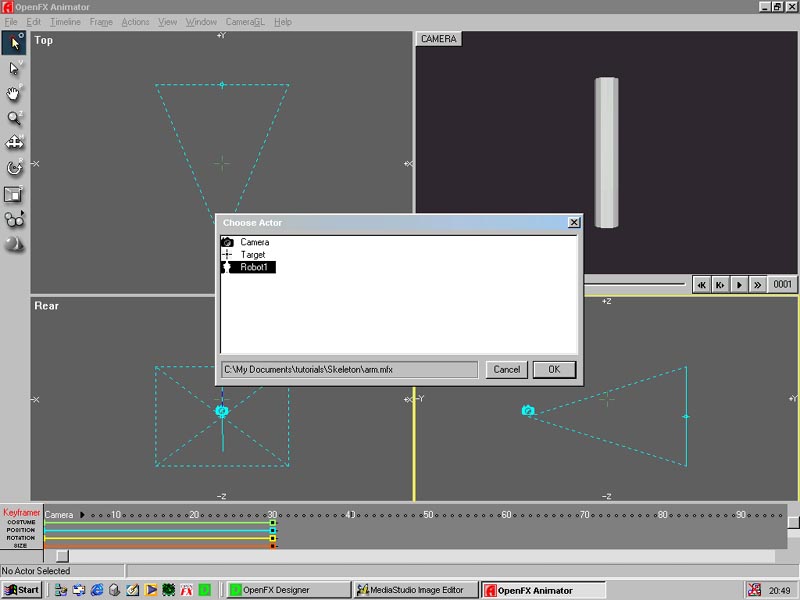
Step 8
Set animation length to 30 frames and load the newly created object as a robot.
|
 |
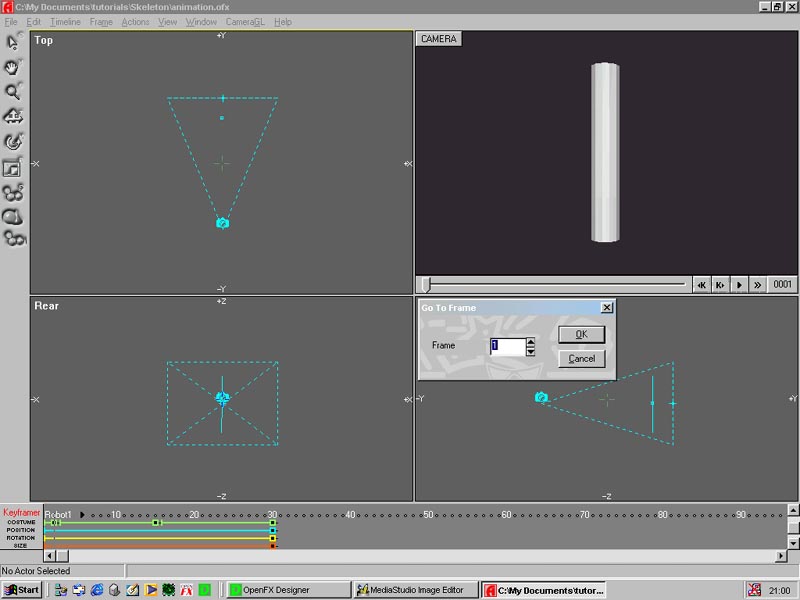
Step 9
With the robot loaded insert a key frame in the robots costume time line at frame 15. Make
sure the keyframer window is open so that you can see the time line ( press 'k' to open
keyframer). In the camera view press on the Go To Frame button and enter 15. This is the
newly created key frame for your arm which is required before you can modify the mesh with
your skeleton.
Remember a costume keyframe has to be made and the Go To Frame has to be on that frame
before you can use the skeleton.
|
 |
Step 10
Select the robot actor by pressing 'a' and clicking on robot1. Press 'v' this will display
the robot view. In the robot hierarchy window select the hand joint and rotate it about
the y axis in any view port this will create a key frame pose for your object.
To create the effect of the object bending insert a key frame at 2 without repositioning any
of the joints and follow steps 9-10.
Support files are available here.
|
Tutorial written by Andrew Heyworth
<< Prev
[1]
[2]
Next >>
|