|
[English]
[French]
<< Prev
[1]
[2]
Next >>
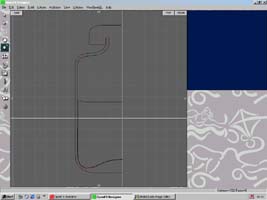 |
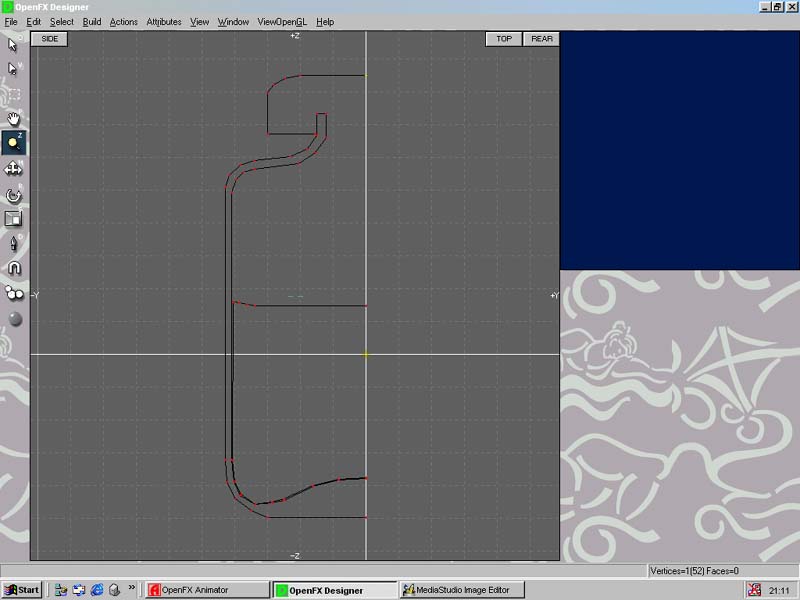
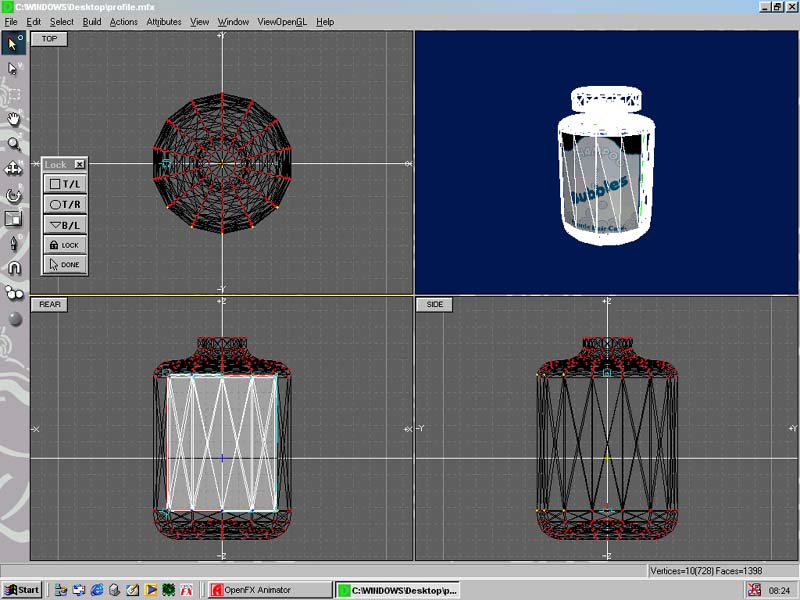
Step 1
Using the pen tool create the three main components of the bottle: Lid, Body and Liquid.
To help later on its better to construct the profiles about the Z axes (see opposite).
Try to leave a small gap between all the components so no geometry is intersection any
other component, it will look better when finally rendering.
|
 |
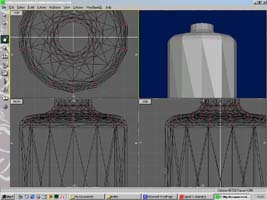
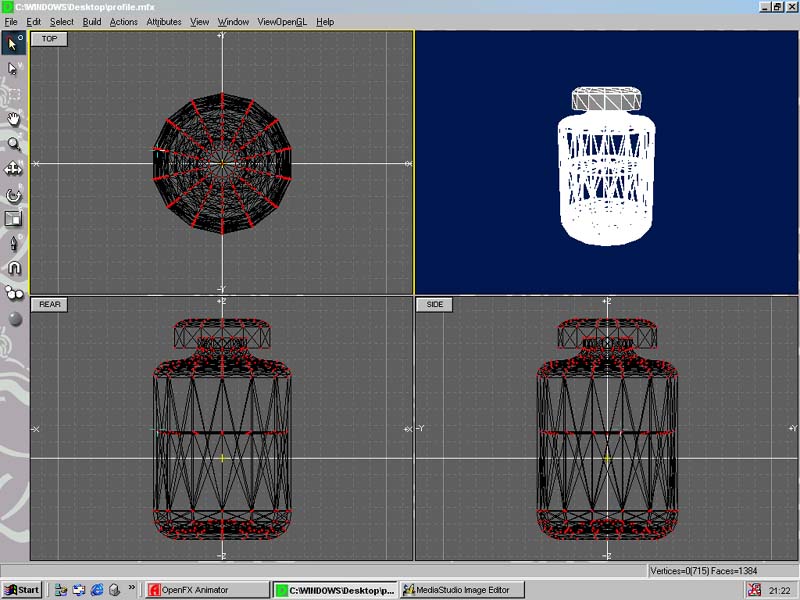
Step 2
Selecting each profile separately apply the Lathe tool with a setting of
14 segments and 360 degrees. As you lathe each profile assign a material
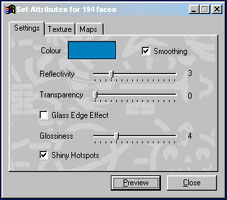
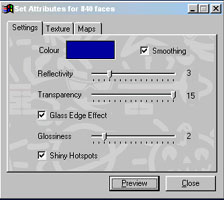
in the Attributes menu or press F8. The setting are:
LID,
BODY, and
LIQUID.
Use a refraction index setting of 1.50 (glass) for the body texture and
1.333 (water) for the liquid.
Remember: when rendering a refraction surface turn on trace shadows and
trace reflections.
Hint: To Lathe accurately about the center, open the Display Co-ordinates dialog box in the view menu. Click anywhere in the top view and change X, Y, Z in the
Display Co-ordinates box to 0,0,0. Then Actions > Lathe or Ctrl+L.
|
 |
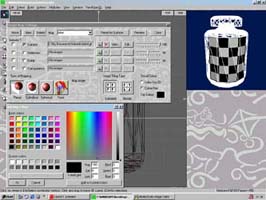
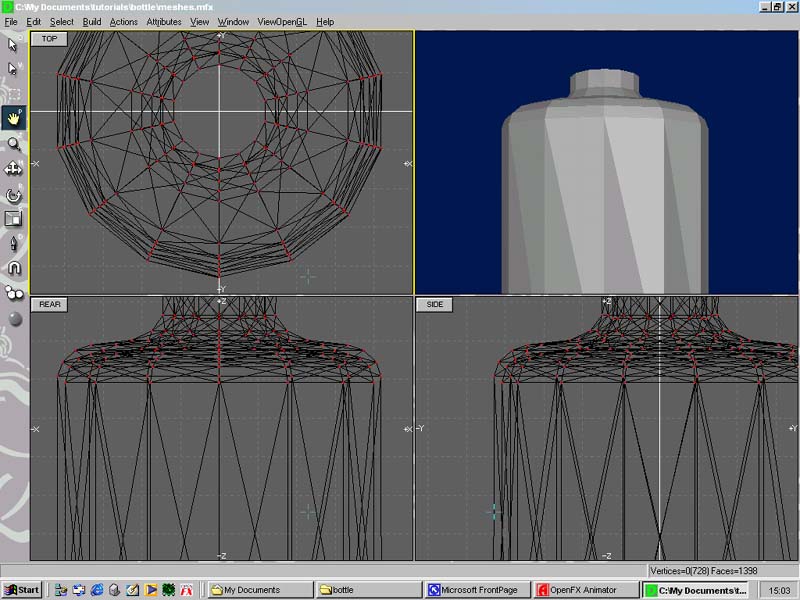
Step 3
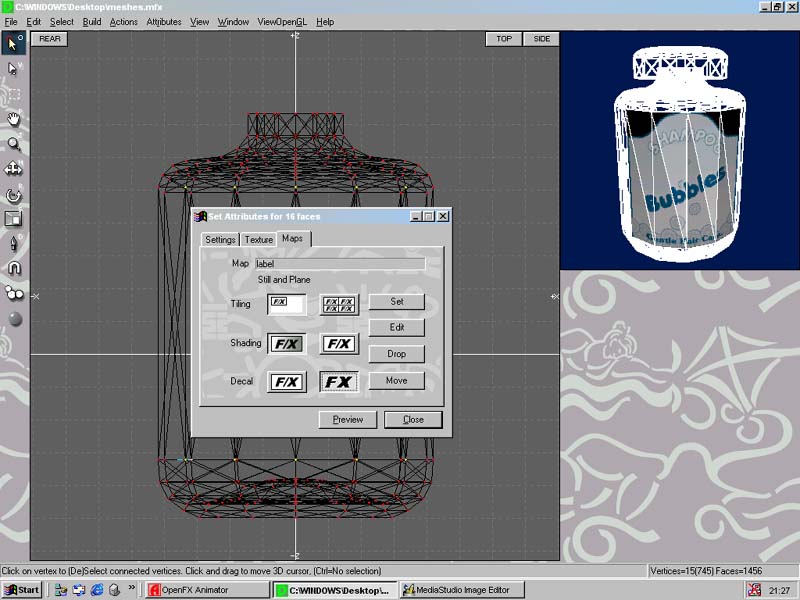
Now to select the faces that will have a Decal mapping applied to them,
for the label. Using the selector tool from the tool bar hold down shift
and lasso the front 5 vertices top and bottom. With these selected go
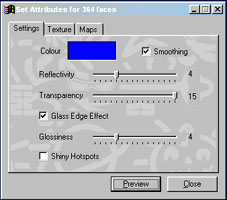
into Attributes > materials settings and open the maps tab. Here
select set and choose <new>. Amend the menu to look like
this example.
Hint: Selecting the required vertices couldn't be easier, just remember what ever you want to zoom in on must me visible in all three view ports
before you can select it.
|
 |
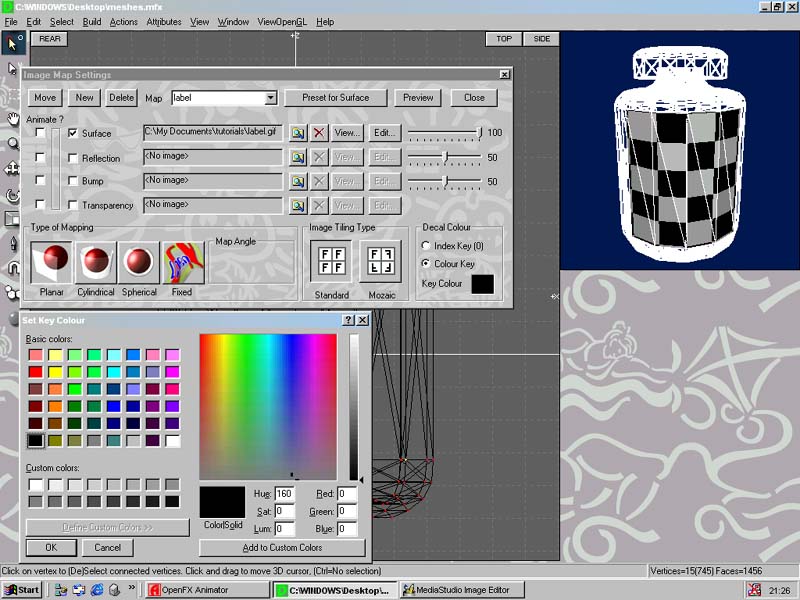
Step 4
Some sections of the label image are not required these sections can be
made transparent by telling OpenFX which colour isn't required in the
Decal Colour section of the Image Map Settings dialog box. In this
dialog box we must also select the label which is to be applied to the
surface as a still image.
|
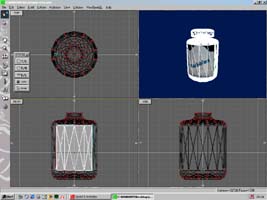 |
Step 5
Still in the Image Map Setting dialog box, press the move button. A
small floating menu will appear, in the rear view window click on the
top left hand vertex were the map will go and press the T/L button then
click on the top right vertex and press T/R click on the bottom
left vertex and press B/L and finally press Done. The Decal is now
positioned.
Save the file as bottle.
|
Tutorial written by Andrew Heyworth
<< Prev
[1]
[2]
Next >>
|