|
[English]
[French]
<< Prev
[1]
[2]
Next >>
 |
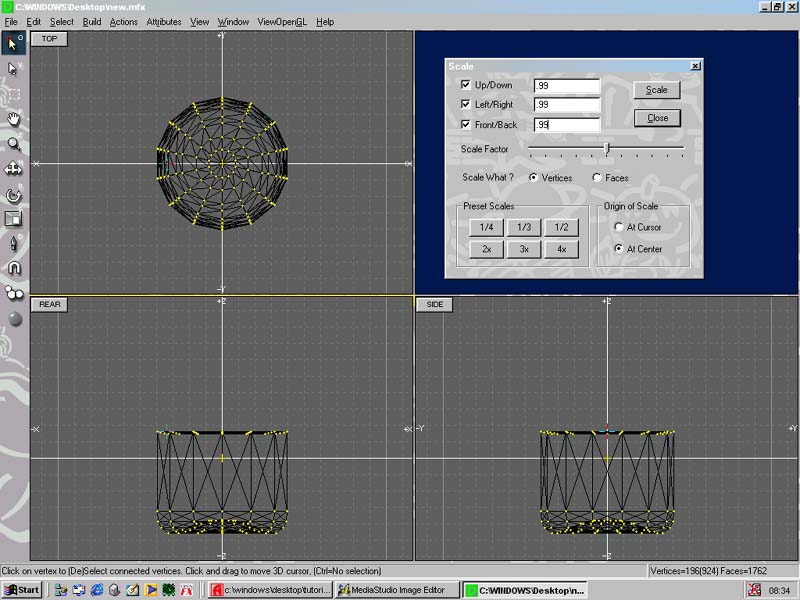
Step 6
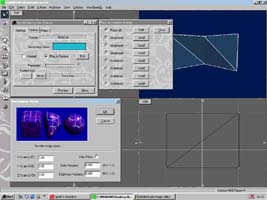
From the original file we'll produce two. One for the bottle and lid and
the other for the liquid. Copy the original file and open it, delete the
lid and bottle objects and select the liquid. In the Actions menu select
Duplicate, click ok. Now we have a copy of the liquid object. Double
click on the scale icon and reduce it in all axis to .99 click on scale
vertices and scale from center. Now flip the normals using Actions >
Reverse and change the material to
this example.
Save this file as liquid. Open the original file, delete the liquid and
save the file as bottle.
|
 |
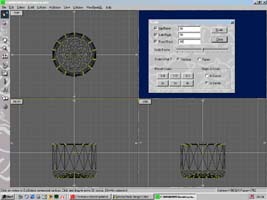
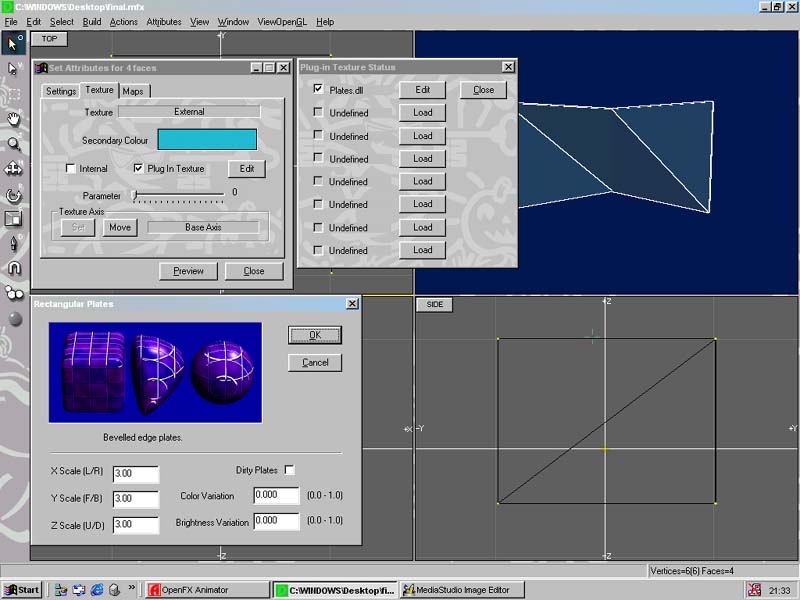
Step 7
Create a new file for the backdrop object .Using a single extruded
polygon and assign the plate plugin as a texture. Set the Scale for X,
Y, Z to 3.0, don't select dirty plate and have colour variation as 0.0.
Save this as wall.
|
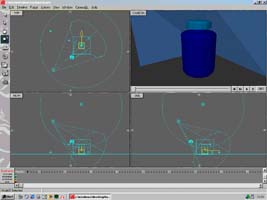 |
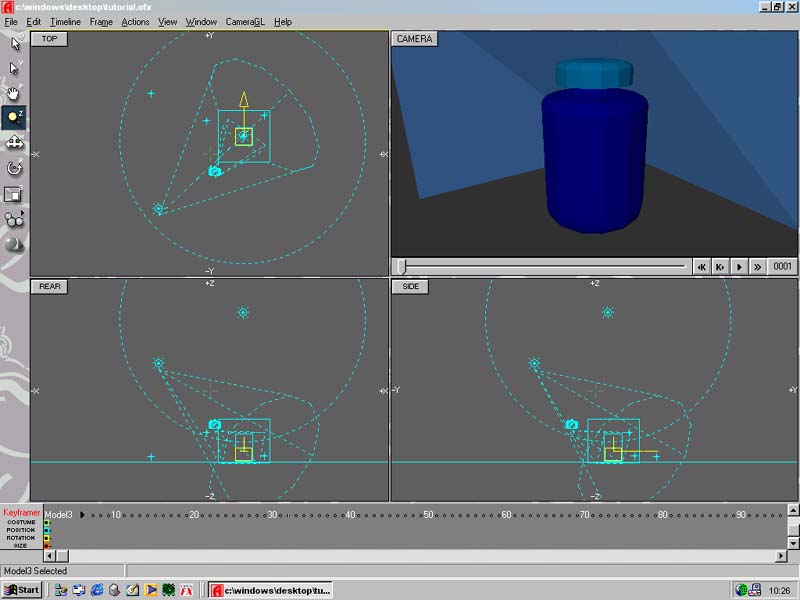
Step 8
In animator load the bottle and liquid model. If they appear in
different places select one at a time, double click the move icon and
set the X, Y, Z to 0,0,0. Load the wall object and position as opposite.
This scene has been light with a spot light for the refraction surfaces
and a general omni light. A ground object forms the floor and a sky
object set to gradient of pale blue / light yellow.
Play with the lighting and sky to get the best balance of colour and shadows.
|
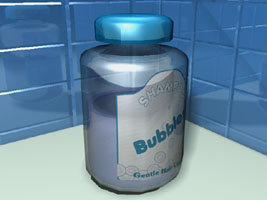 |
Step 9
Render the scene with trace reflection and trace shadows and trace glass on. Be
warned this does take a long time, so go make yourself a cup of tea and
sit back.
Download resource files here.
|
Tutorial written by Andrew Heyworth
<< Prev
[1]
[2]
Next >>
|

